
PCとArduino間でのシリアル通信を介したEEPROM書き込み(難航)
お疲れ様です。高橋です。
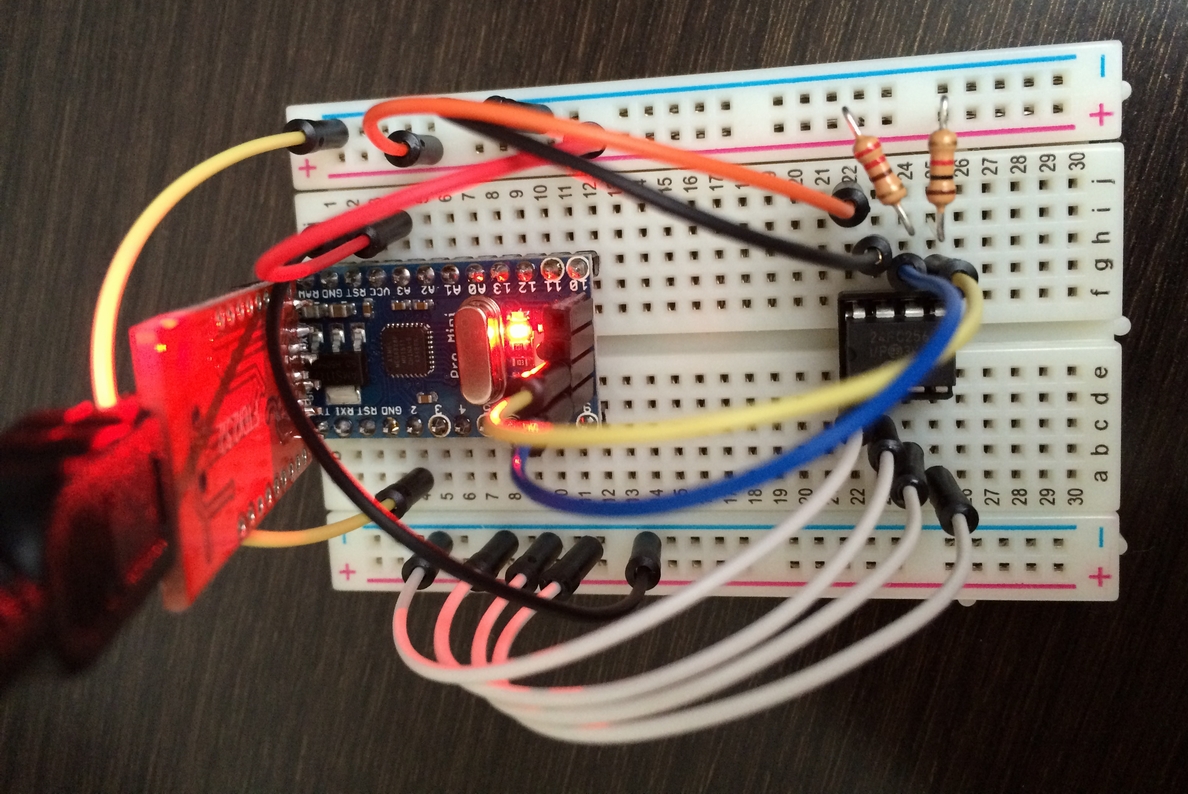
Arduino Pro MiniでI2C EEPROMを使う実験をしました。
動かない
過去の配線通りに回路を組んで、早速実験。
しかし、Write Errorとなってしまいました。
原因はすぐに判明。Arduino UNOやPro Miniは、I2C通信をするためのWireというライブラリがアナログ4番と5番を使っているのですが、間違ってデジタル4番と5番に挿していたのです。
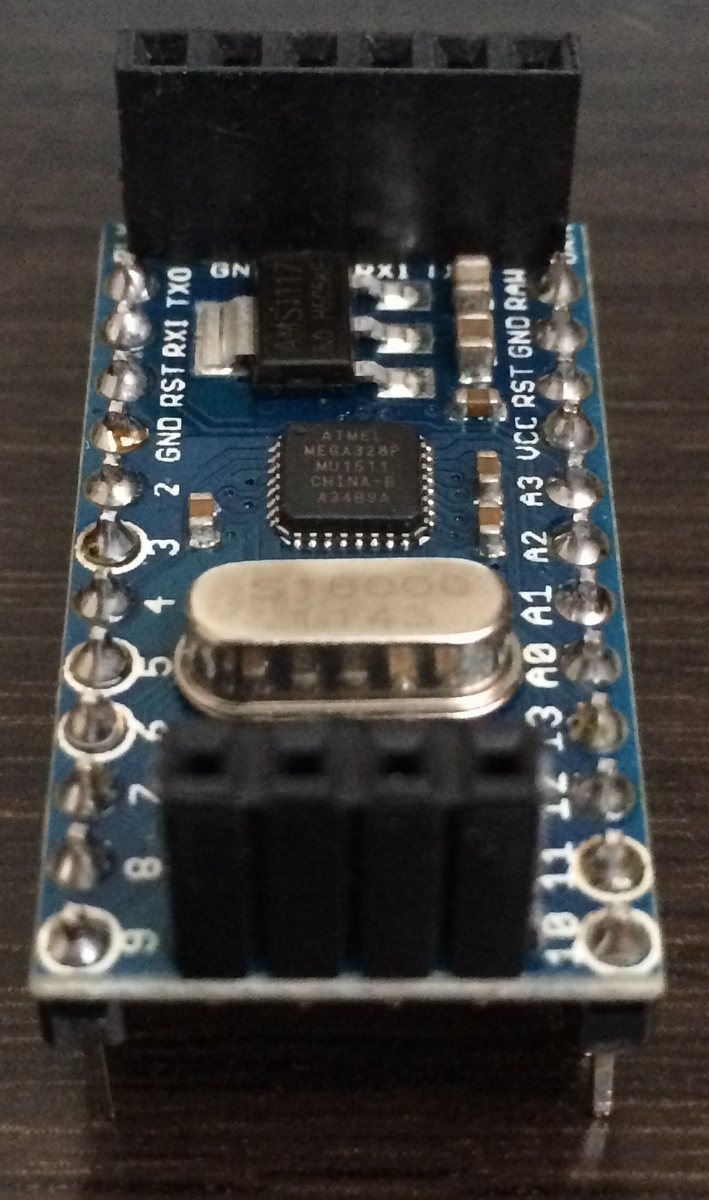
しかし、Pro Miniのアナログ4番~7番は、リセットスイッチの右側にある4本であり、半田付けするのを忘れてました。ので、急遽半田付け。
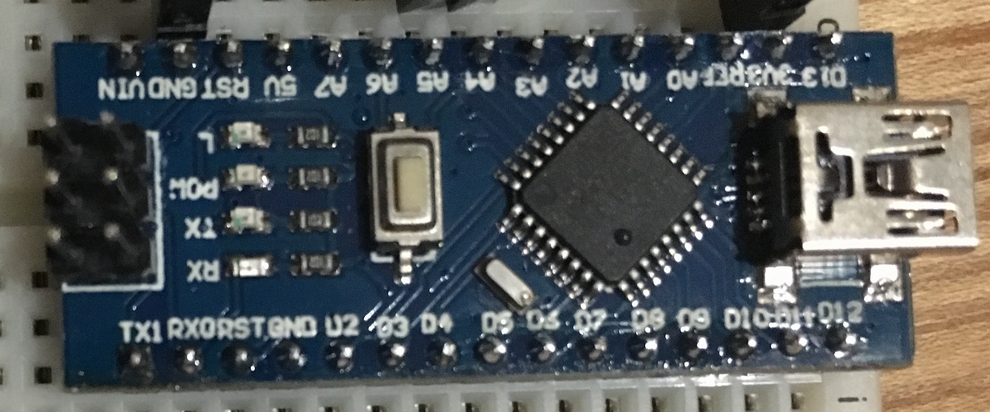
ピン配置
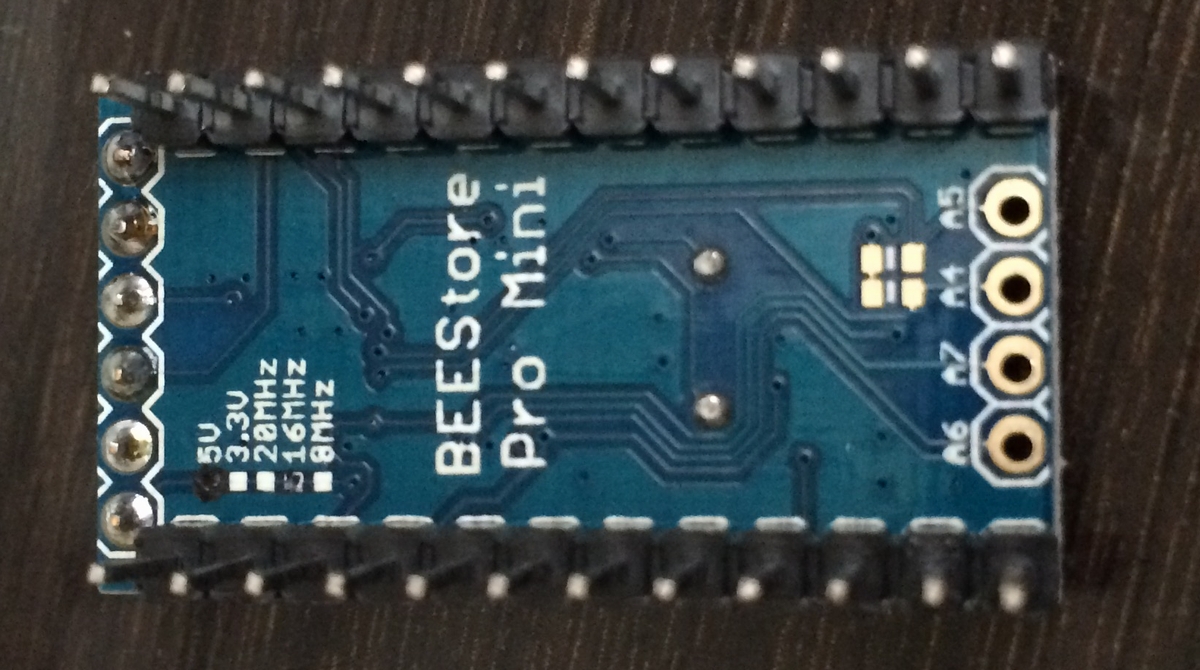
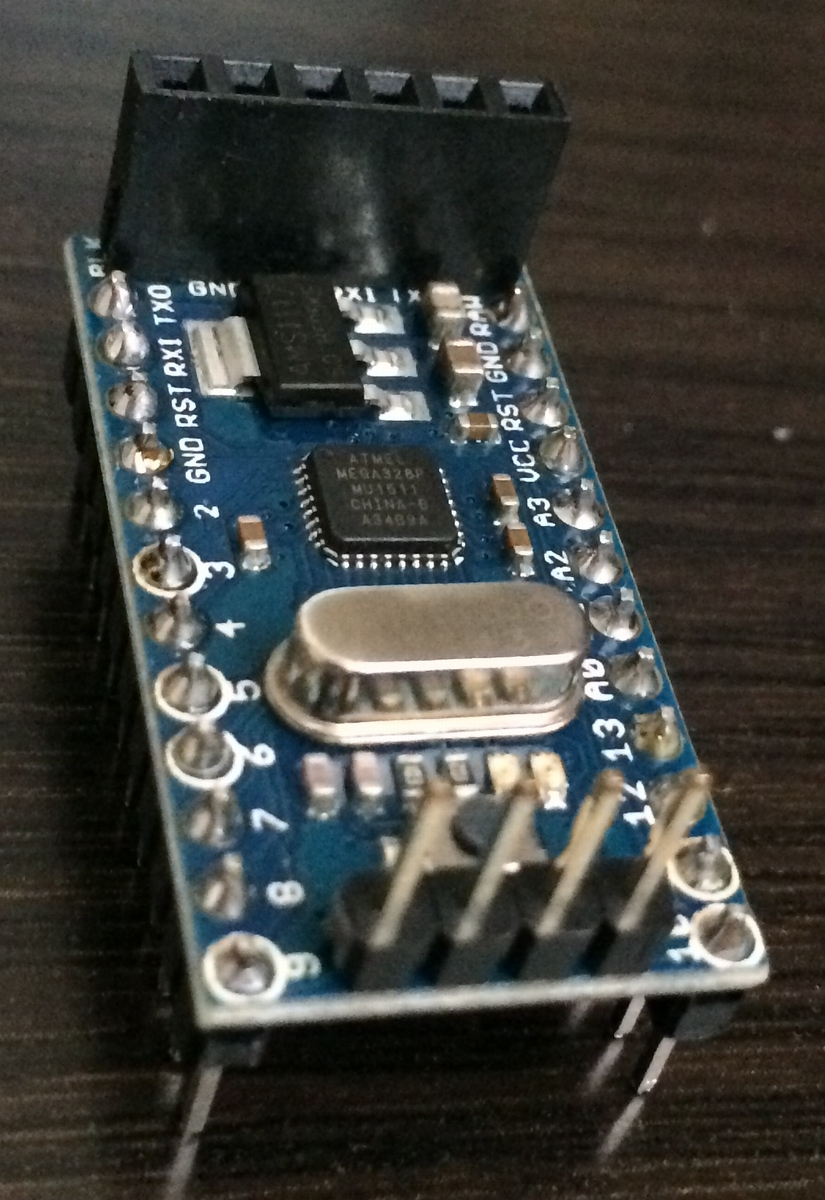
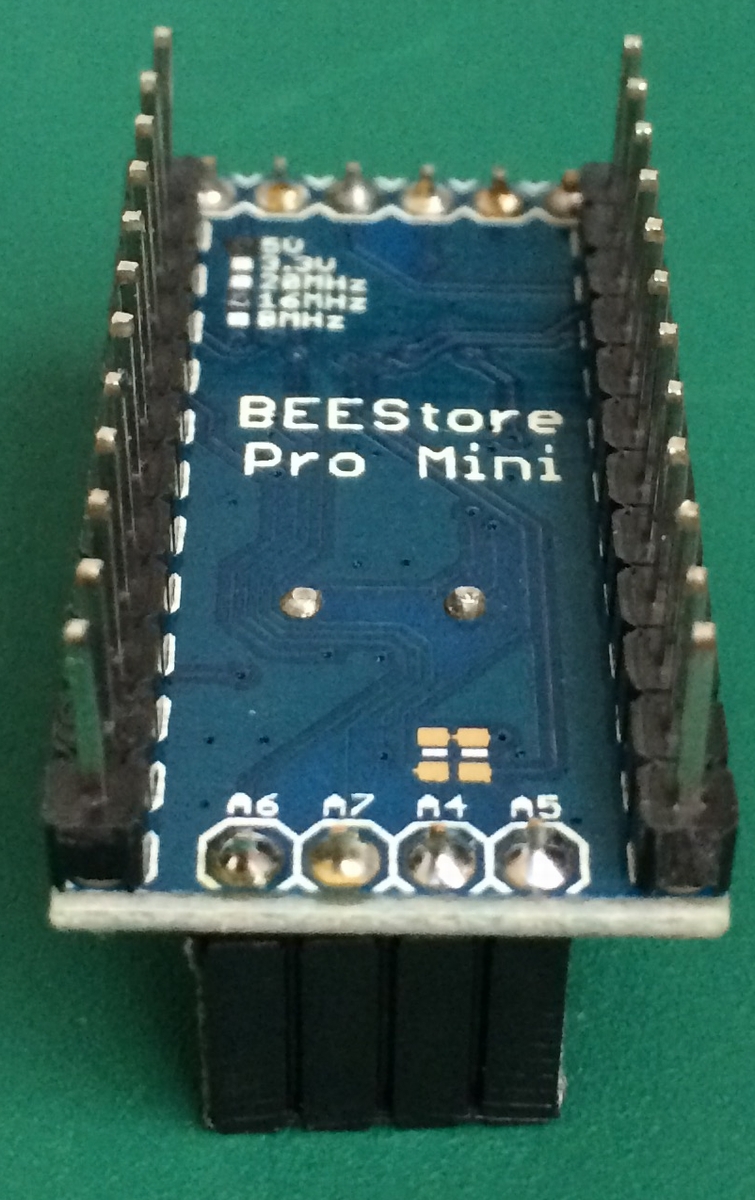
私の買ったArduino Pro Miniは、4、5、6、7が変な順番で配置されてます。
一方、sparkfun版のPro Miniも、なかなか変な場所に4,5,6,7が出てます。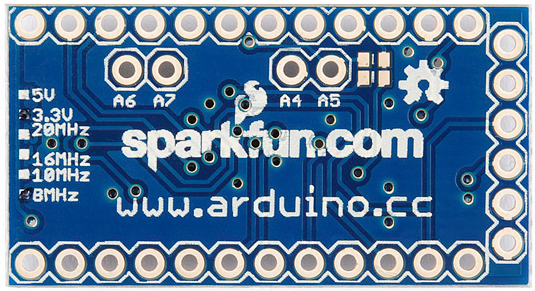
虐げられててかわいそう。
半田付け
ピンソケットにするか・・・
ピンヘッダにするか・・・
30秒程悩みましたが、オス-オスのジャンパー線が在庫豊富なので、ピンソケットで行くことにしました。
Read/Write共に正常に動作しました。
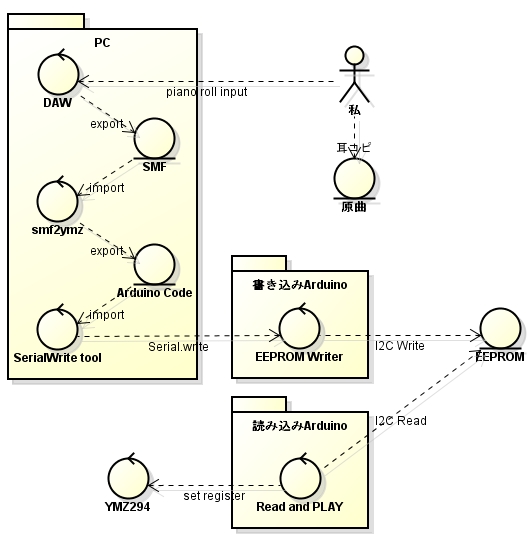
PC-Arduino間のシリアル通信によるEEPROMへの書き込み
ちょっと前にPC側のJavaで実装した、楽曲データをシリアル通信でArduinoに送るプログラム。今日は、Arduino側で受信したデータをEEPROMに書き込む実験を行いました。
結果から言うと、まだ正常動作してません。。
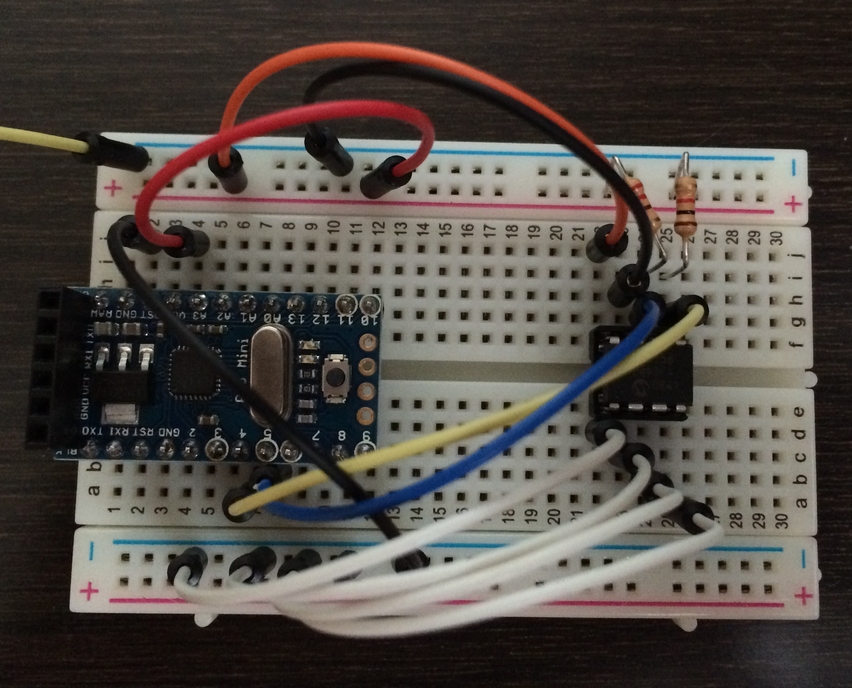
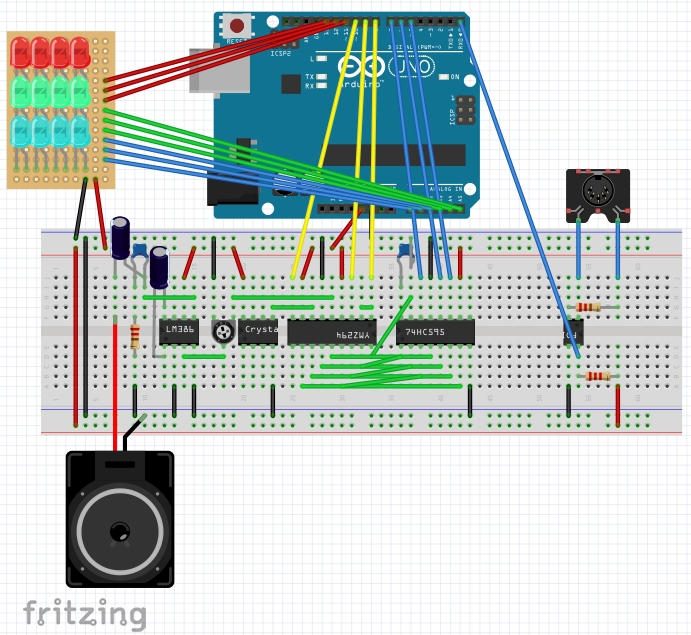
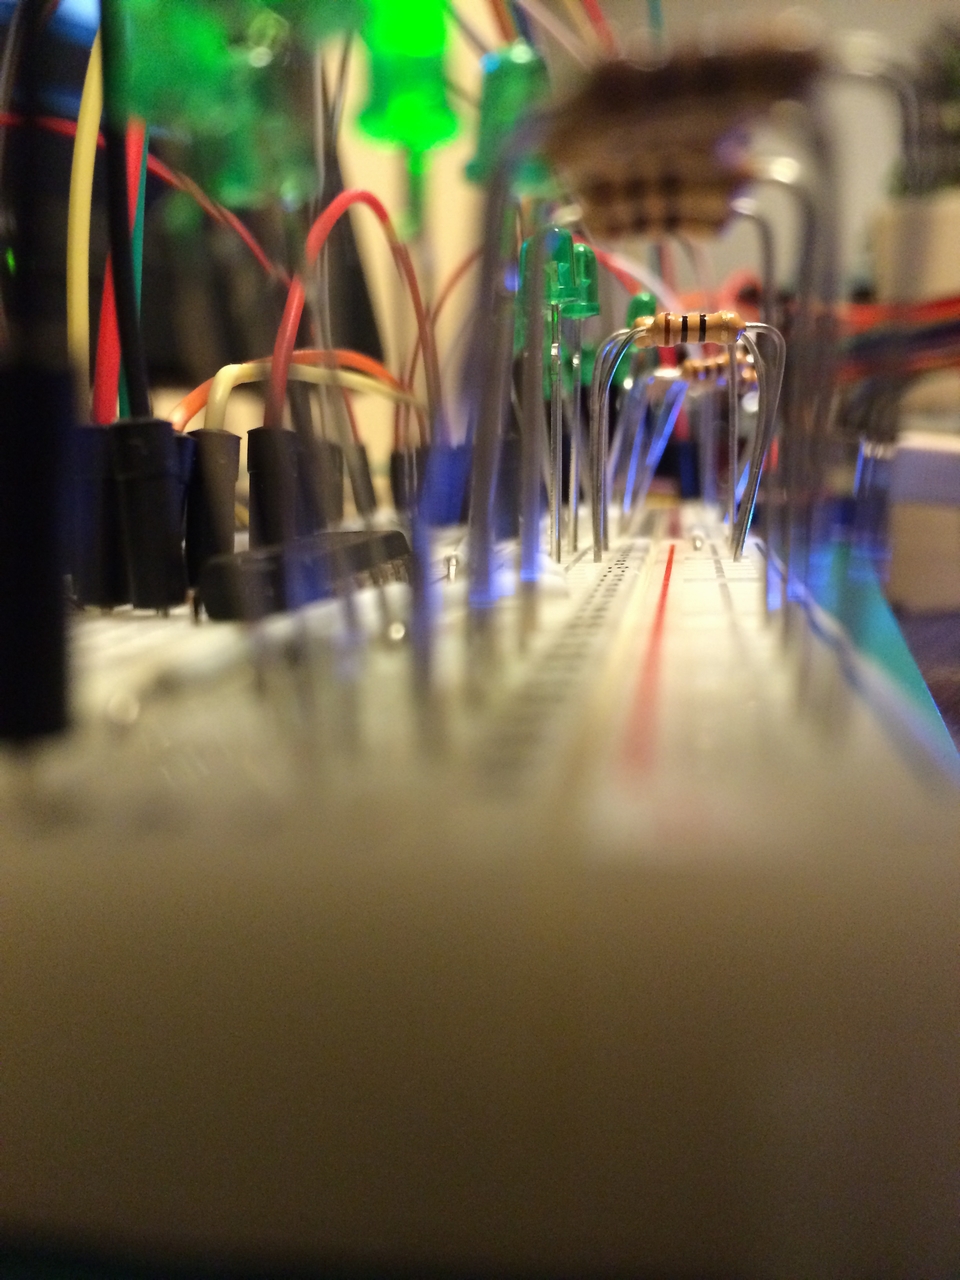
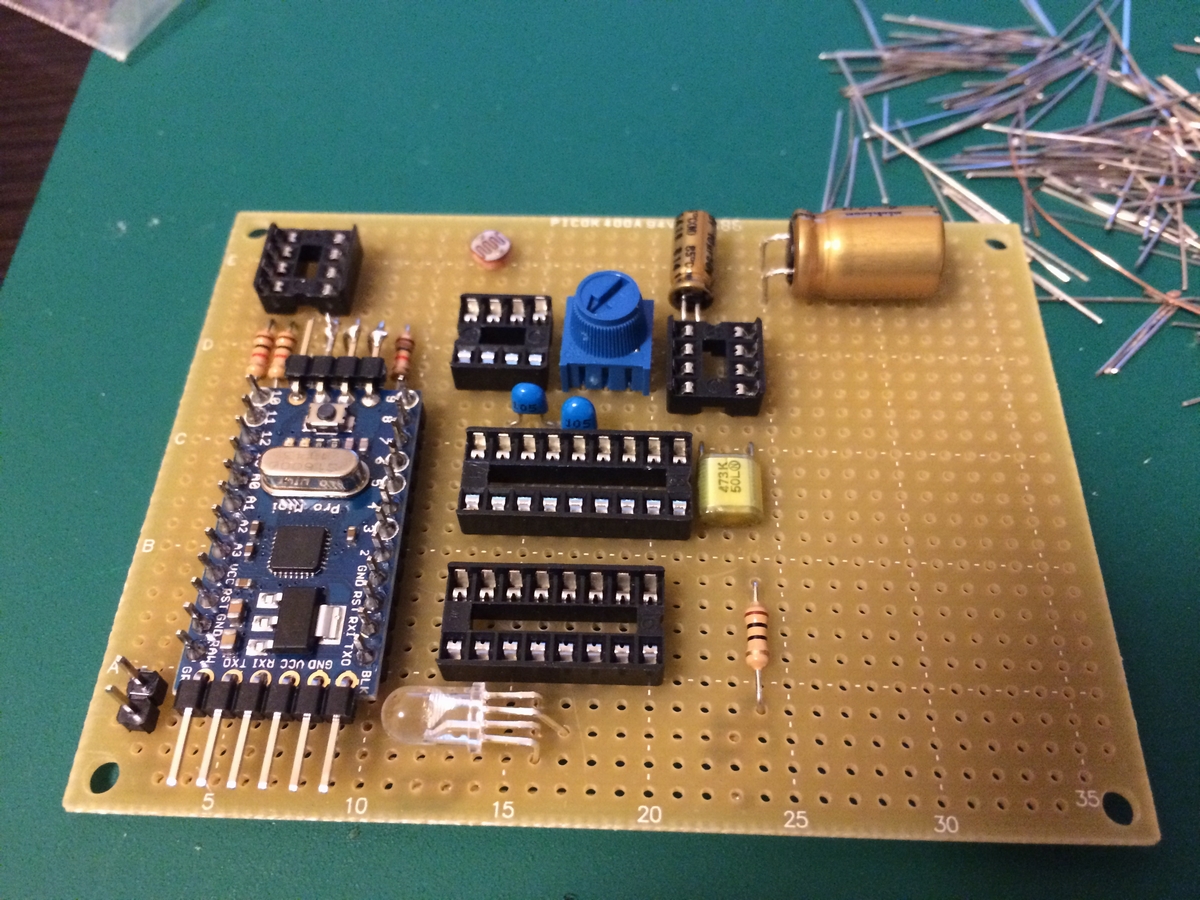
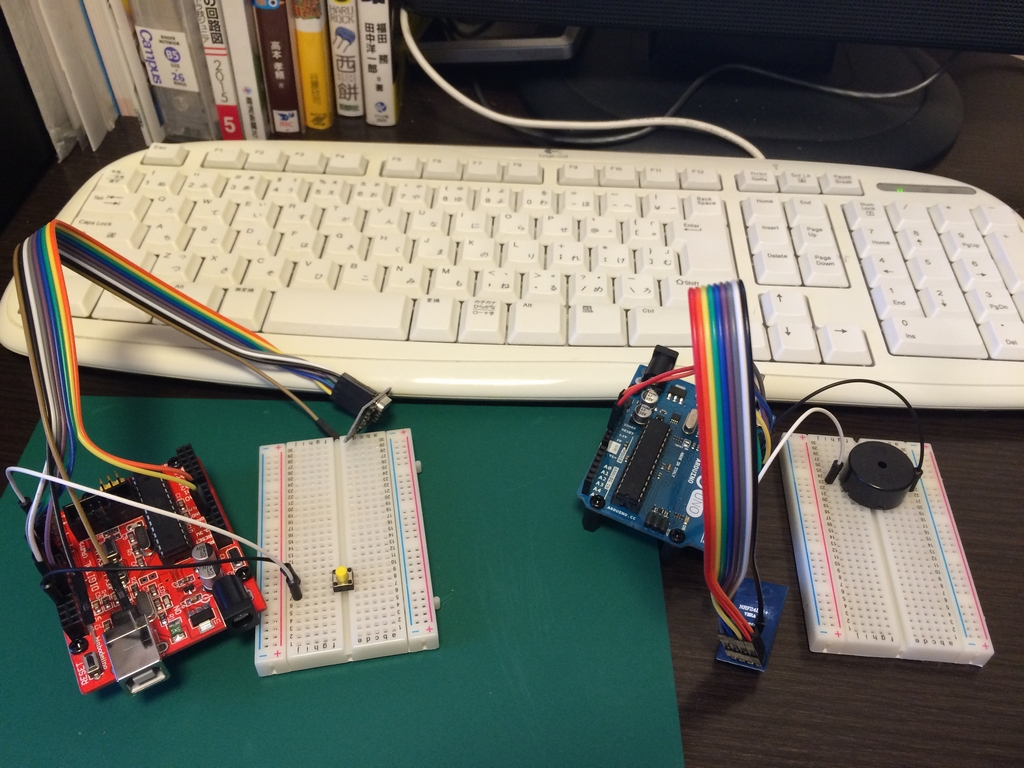
全体像
全体像は下記の通りです。
下記がPC側から送出するjavaのコード。の、debug用コード。
package serialTest;

import java.io.BufferedReader;
import java.io.FileReader;
import java.io.IOException;
import java.io.OutputStream;

import gnu.io.CommPort;
import gnu.io.CommPortIdentifier;
import gnu.io.SerialPort;

public class SerialWriteDebug {

 // -- bps
 public static String COM_PORT = "COM7";
 public static int BPS = 4800;
 public static String FILE_PATH = "D:/Arduino/sample.txt";

 public static void main(String arg[]) throws IOException {

 BufferedReader br = null;
 SerialPort port = null;
 OutputStream out = null;
 try {

 /***************************************************
 * create serial connector
 ***************************************************/
 // create serial ID
 CommPortIdentifier comID = CommPortIdentifier.getPortIdentifier(COM_PORT);
 // open ID (application_name, timeout)
 CommPort commPort = comID.open("SerialTest02", 2000);
 // cast to port
 port = (SerialPort) commPort;

 /***************************************************
 * configure serial port
 ***************************************************/
 port.setSerialPortParams(BPS, SerialPort.DATABITS_8, SerialPort.STOPBITS_1, SerialPort.PARITY_NONE);
 port.setFlowControlMode(SerialPort.FLOWCONTROL_NONE);

 out = port.getOutputStream();

 /***************************************************
 * write data to Serial
 *
 * read from Arduino code exported by kalshagar's library.
 * https://kalshagar.wikispaces.com/Arduino+and+a+YMZ294
 *
 ***************************************************/

 br = new BufferedReader(new FileReader(FILE_PATH));
 int intAddress = 1;
 char[] data = { 0x00, 0x00, 0x00 };
 for (int j = 0; j < 10; j++) {
 writeDataToSerial(intAddress, out, data);
 intAddress += 3;
 if (intAddress % 64 == 0) intAddress++;
 }

 data[0] = 0x01;
 data[1] = 0x01;
 data[2] = 0x01;
 writeDataToSerial(intAddress, out, data);
 intAddress += 3;
 if (intAddress % 64 == 0) intAddress++;
 data[0] = 0x02;
 data[1] = 0x02;
 data[2] = 0x02;
 writeDataToSerial(intAddress, out, data);
 intAddress += 3;
 if (intAddress % 64 == 0) intAddress++;
 data[0] = 0x03;
 data[1] = 0x03;
 data[2] = 0x03;
 writeDataToSerial(intAddress, out, data);

 } catch (Exception e) {
 e.printStackTrace();
 } finally {

 br.close();
 out.close();
 port.close();
 }

 }

 public static int readValue(String line, String regex1, String regex2) {

 String[] ary01 = line.split(regex1, 0);
 String[] ary02 = ary01[1].split(regex2, 0);
 int intShort = Integer.parseInt(ary02[0]);
 return intShort;
 }

 public static void writeDataToSerial(int intAddress, OutputStream out, char data[]) throws IOException, InterruptedException {

 System.out.print("Address [" + intAddress + "] data [");
 System.out.print(Integer.toHexString(data[0]));
 System.out.print(" ");
 System.out.print(Integer.toHexString(data[1]));
 System.out.print(" ");
 System.out.println(Integer.toHexString(data[2]) + "]");

 out.write(data[0]);
 out.write(data[1]);
 out.write(data[2]);

 Thread.sleep(50);
 }
}
下記が書き込みArduino側のスケッチ。
#include <Wire.h>
#include <skMC24xxx.h>

skMC24xxx MEM(0, 0, 0) ;

int intCurrentAddress = 1;
int response;
int intCurrentRecvSize = 0;
char aryWriteData[4];
char c = 0;

void editCurrentAddress() {
 if (intCurrentAddress % 64 == 0) {
 intCurrentAddress = intCurrentAddress + 1;
 }
}

void setup()
{
 Serial.begin(4800) ;
 delay(1000);
}

void loop()
{
 if (Serial.available() >= 3) {
 for (int i = 0; i < 3; i++) aryWriteData[i] = Serial.read();
 response = MEM.Write(intCurrentAddress, aryWriteData, 3);
 delay(5);
 intCurrentAddress = intCurrentAddress + 3;
 editCurrentAddress();

 }
}
PCとArduinoでシリアル通信している間はシリアルモニタによる確認が出来ないので、書き込んだ後にEEPROMのデータを読み込んで、中身をチェックするためのスケッチが下記。
#include <Wire.h>
#include <skMC24xxx.h>

skMC24xxx MEM(0, 0, 0) ;

int intCurrentAddress = 1;
int response;

void editCurrentAddress() {
 if (intCurrentAddress % 64 == 0) {
 intCurrentAddress = intCurrentAddress + 1;
 }
}

void showResponseMessage(int response, char data[4]) {
 Serial.print("Address[");
 Serial.print(intCurrentAddress);
 Serial.print("] data[");
 Serial.print(data[0], HEX);
 Serial.print("/");
 Serial.print(data[1], HEX);
 Serial.print("/");
 Serial.print(data[2], HEX);
 Serial.println("]");

}
void setup() {

 Serial.begin(9600) ;
 delay(1000);
}

void loop() {
 char readData[4];
 response = MEM.Read(intCurrentAddress, readData, 3) ;
 showResponseMessage(response, readData);
 if (readData[0] == 3 ) {

 while (true);
 } else {
 intCurrentAddress = intCurrentAddress + 3;
 editCurrentAddress();
 }
}
動かしてみる
Arduino側を書き込みスケッチにした状態で、PC側のシリアル通信ソフトを動かして、意図通りのデータがoutされている事を確認。
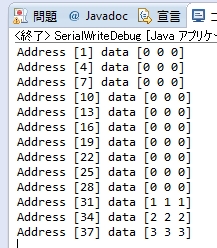
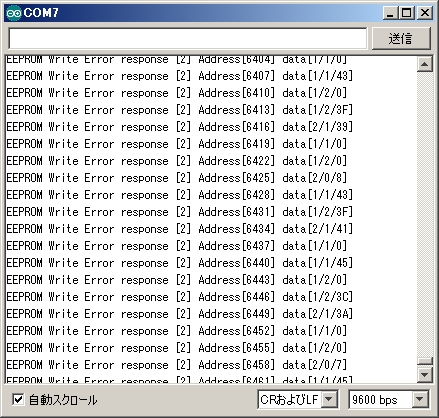
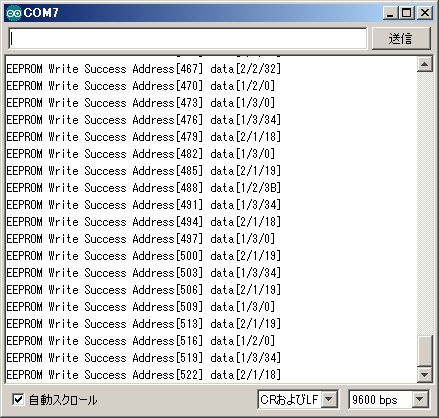
そして、EEPROMの中身を読み込んでみると、

なんだか全然意図しないデータが書き込まれています。
書き込み箇所がおかしいのか、読み込む所がおかしいのか。
以上、よろしくお願い致します。
関連記事
-
-
YMZシールドの作成 #1
お疲れ様です。高橋です。 実体配線図を書き起こしておいたYMZシールドの半田付け …
-
-
YMZシールドの作成 #2
お疲れ様です。高橋です。 先日から作っていたYMZシールドですが、本日完成しまし …
-
-
YMZシールドのMIDI化を検討
お疲れ様です。高橋です。 Arduino UNOにYMZシールドをくっつけ、さら …
-
-
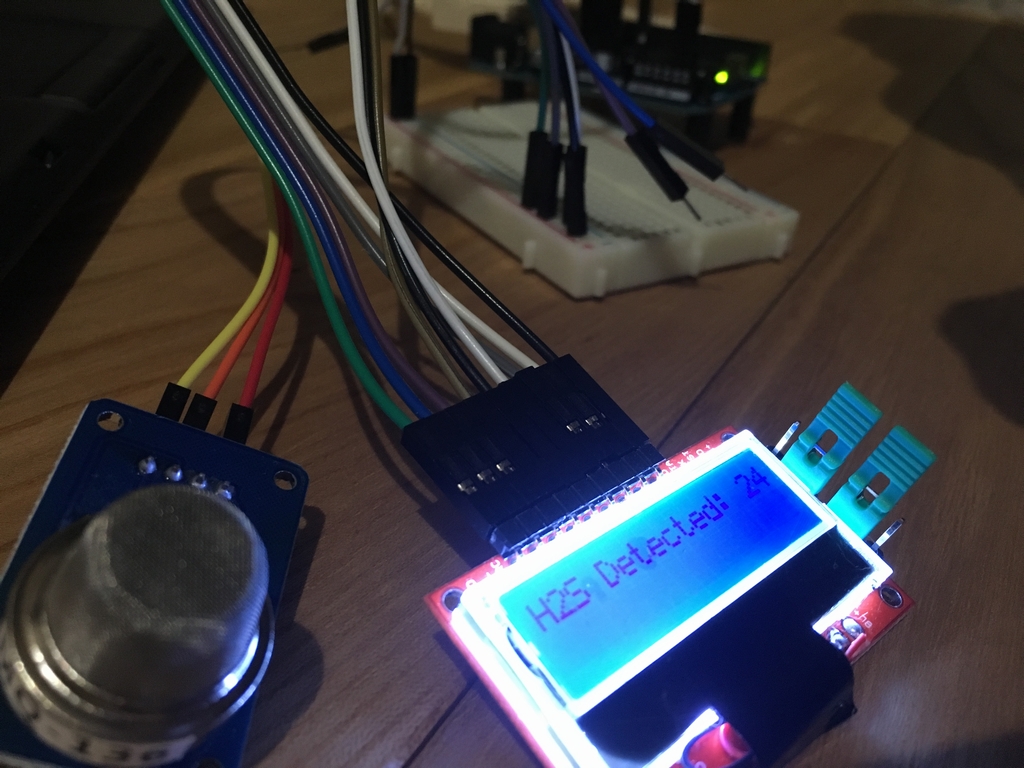
満員電車内でのオナラと検知 #4
お疲れ様です。高橋です。 硫化水素センサーが到着しました。結構前に到着していたの …
-
-
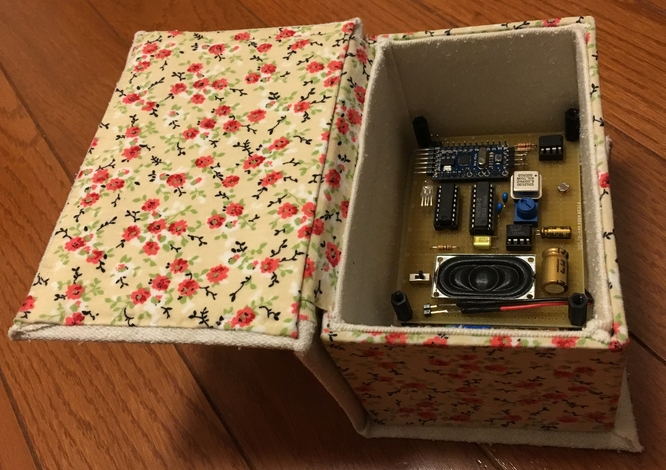
【完成】 電子オルゴール
お疲れ様です。高橋です。 電子オルゴールの制作が佳境に入り、とうとうカルトナージ …
-
-
音階LEDの再設計
お疲れ様です。高橋です。 本日帰宅途中に電車をぼーっと待っている時、ふと、音階L …
-
-
Arduino nano互換機でオナラ検知デバイス
お疲れ様です。高橋です。 今日のお昼、会社の大先輩から、綺麗にケーシングした自作 …
-
-
音階に合わせてLEDを光らせてみた。
お疲れ様です。高橋です。 主旋律に合わせてLEDを光らせてみる実験を行いました。 …
-
-
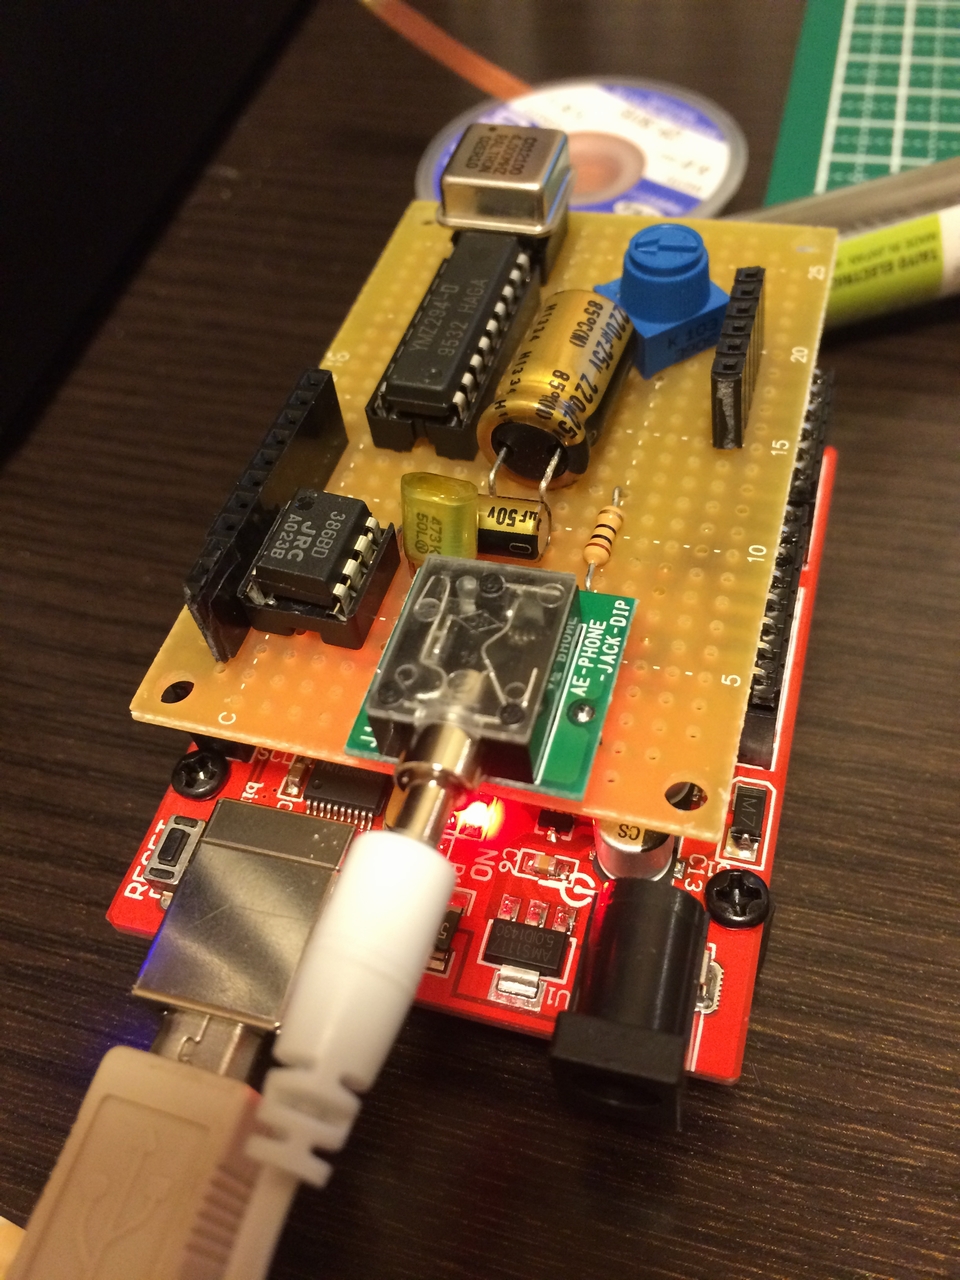
電子オルゴール 基板実装 #1
お疲れ様です。高橋です。 Pro Mini互換機を贅沢に使った電子オルゴールの仮 …
-
-
無線モジュールでモールス信号
お疲れ様です。高橋です。 無線モジュールnRF24L01Pを使った、なんちゃって …
- PREV
- 本blogの最近のアクセス状況
- NEXT
- 【完成】PCからシリアル通信でEEPROM書き込み