
【完成】PCからシリアル通信でEEPROM書き込み
お疲れ様です。高橋です。
PCからシリアル通信を介して楽曲データをEEPROMに書き込むのがなかなか上手く行かなかったのですが、試行錯誤の末、完了しました。
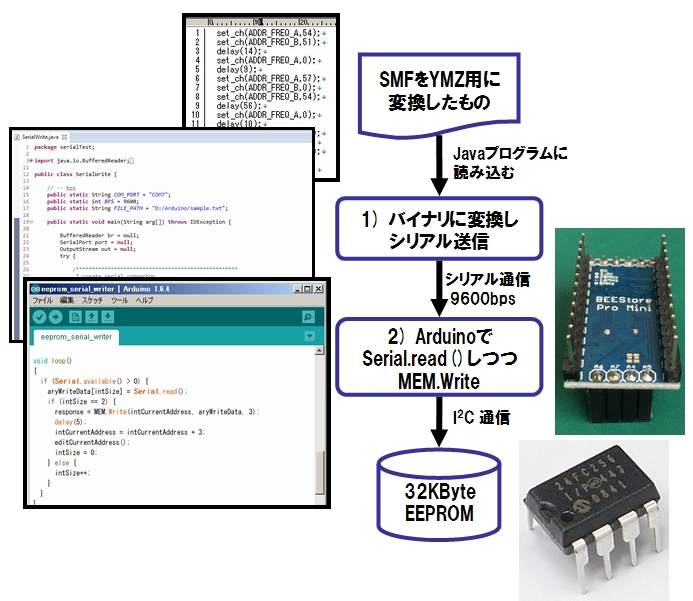
全体の流れ
SMFをYMZ用に変換したコードを、javaで書いたプログラムで読み込み、バイナリに変換し、シリアル送信します。それをArduino側が受信し、EEPROMに書き込みます。
この中で問題は2箇所ありました。
過酷なデバッグ
PCとArduinoがデータのやりとりのためにシリアルポートを使ってしまうので、外からどんなデータが授受されてるのか覗き見できなく、デバッグは大変。
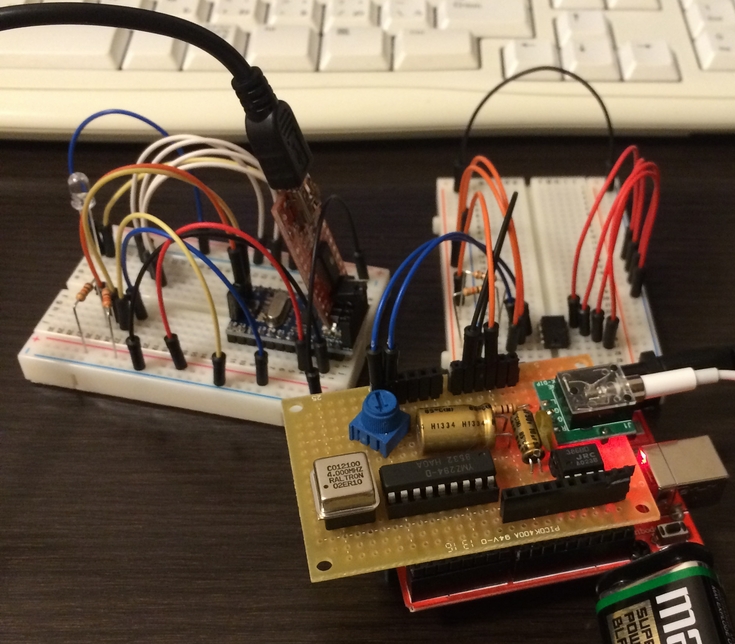
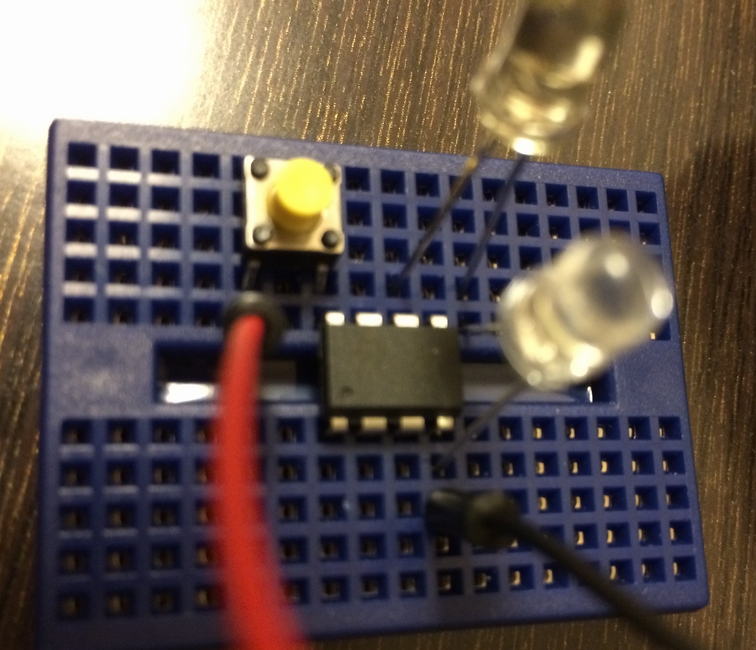
データをシリアル受信したりEEPROMに書き込んだらLEDが光るようにしました。
Javaでのシリアル通信
最終的に動作したコードは下記の通りです。
package serialTest;

import java.io.BufferedReader;
import java.io.FileReader;
import java.io.IOException;
import java.io.OutputStream;

import gnu.io.CommPort;
import gnu.io.CommPortIdentifier;
import gnu.io.SerialPort;

public class SerialWrite {

 // -- bps
 public static String COM_PORT = "COM7";
 public static int BPS = 9600;
 public static String FILE_PATH = "D:/Arduino/sample.txt";

 public static void main(String arg[]) throws IOException {

 BufferedReader br = null;
 SerialPort port = null;
 OutputStream out = null;
 try {

 /***************************************************
 * create serial connector
 ***************************************************/
 // create serial ID
 CommPortIdentifier comID = CommPortIdentifier.getPortIdentifier(COM_PORT);
 // open ID (application_name, timeout)
 CommPort commPort = comID.open("SerialTest02", 2000);
 // cast to port
 port = (SerialPort) commPort;

 /***************************************************
 * configure serial port
 ***************************************************/
 port.setSerialPortParams(BPS, SerialPort.DATABITS_8, SerialPort.STOPBITS_1, SerialPort.PARITY_NONE);
 port.setFlowControlMode(SerialPort.FLOWCONTROL_NONE);

 out = port.getOutputStream();
 Thread.sleep(5000);

 /***************************************************
 * write data to Serial
 *
 * read from Arduino code exported by kalshagar's library.
 * https://kalshagar.wikispaces.com/Arduino+and+a+YMZ294
 *
 ***************************************************/

 br = new BufferedReader(new FileReader(FILE_PATH));
 String line = "";
 int intValue = 0;
 int intAddress = 1;
 char[] data = { 0, 0, 0 };

 while ((line = br.readLine()) != null) {
 // set command to byte #1.
 if (line.indexOf("set_ch") >= 0) {
 data[0] = 0x01;

 // set channel to byte #2.
 if (line.indexOf("ADDR_FREQ_A") >= 0) {
 data[1] = 1;
 } else if (line.indexOf("ADDR_FREQ_B") >= 0) {
 data[1] = 2;
 } else if (line.indexOf("ADDR_FREQ_C") >= 0) {
 data[1] = 3;
 }
 intValue = readValue(line, ",", "\\)");
 data[2] = (char) intValue;
 } else if (line.indexOf("delay") >= 0) {
 data[0] = 2;
 intValue = readValue(line, "\\(", "\\)");
 data[1] = (char) (intValue / 100);
 data[2] = (char) (intValue % 100);
 }
 writeDataToSerial(intAddress, out, data);
 intAddress += 3;
 if (intAddress % 64 == 0) intAddress++;
 }
 data[0] = 3;
 data[1] = 0;
 data[2] = 0;
 writeDataToSerial(intAddress, out, data);

 } catch (Exception e) {
 e.printStackTrace();
 } finally {

 br.close();
 out.close();
 port.close();
 }

 }

 public static int readValue(String line, String regex1, String regex2) {

 String[] ary01 = line.split(regex1, 0);
 String[] ary02 = ary01[1].split(regex2, 0);
 int intShort = Integer.parseInt(ary02[0]);
 return intShort;
 }

 public static void writeDataToSerial(int intAddress, OutputStream out, char data[]) throws IOException, InterruptedException {

 System.out.print("Address [" + intAddress + "] data [");
 System.out.print(Integer.toHexString(data[0]));
 System.out.print(" ");
 System.out.print(Integer.toHexString(data[1]));
 System.out.print(" ");
 System.out.println(Integer.toHexString(data[2]) + "]");

 out.write(data[0]);
 out.write(data[1]);
 out.write(data[2]);

 Thread.sleep(50);
 }
}
修正点は
- シリアル通信用のoutputstreamを作った後に5000のsleepを挟んだ
- char配列に与えるデータの型をそもそもミスってた
の2点でした。
Arduino側のSerial.read()とMEM.Write()
最終形のArduino側のEEPROM書き込みスケッチは下記の通りです。
#include <Wire.h>
#include <skMC24xxx.h>
skMC24xxx MEM(0, 0, 0) ;
int intCurrentAddress = 1;
int intSize = 0;
int response;
char aryWriteData[4];

void editCurrentAddress() {
 if (intCurrentAddress % 64 == 0) {
 intCurrentAddress++;
 }
}

void L_chika() {
 digitalWrite(2, HIGH);
 delay(10);
 digitalWrite(2, LOW);
 delay(10);
}

void setup()
{
 Serial.begin(9600) ;
 pinMode(2, OUTPUT);
 delay(1000);
 L_chika();
}

void loop()
{
 if (Serial.available() > 0) {
 aryWriteData[intSize] = Serial.read();
 if (intSize == 2) {
 response = MEM.Write(intCurrentAddress, aryWriteData, 3);
 delay(5);
 intCurrentAddress = intCurrentAddress + 3;
 editCurrentAddress();
 intSize = 0;
 } else {
 intSize++;
 }
 }
}
また火傷
EEPROMへの書き込みが成功したら、読み込み用に待機させといたArduinoのブレッドボードにEEPROMを差し込みます。流れてくるファイナルファンタジー2の戦闘テーマを聞いて、疲れが吹っ飛びました。
楽曲を何回か差し替えている時、EEPROMを上下逆に刺してしまい、触れないほどの熱を発し、また火傷してしまいました。幸い、EEPROMは壊れずに済みました。火傷する程の熱が出てるのに壊れないなんて、超頑丈。
今後
今回の楽曲データは、音階と長さと休符だけをバイナリ化しているだけなので、曲の最初にメタデータとして曲のテンポとエンベロープのデータ、そして繰り返しポイント用のデータを混ぜたものに変更しようと思います。
それと、書き込みのためだけにArduino Pro Miniを使うのはもったいないので、AVRマイコンをそのまま使えないかなーと思っています。
スケッチが プログラムストレージ領域の 4,020バイト (13%) を使用しています。最大は 30,720バイト です。
グローバル変数が 403バイト (19%) の 動的メモリを使用しており、ローカル変数に 1,645 バイトが残っています。最高は 2,048バイトです。
スケッチの容量は4Kbyte以下で、メモリが403byteです。これを満たす生マイコンは無いかな・・・と探してみたところ、2ドルのPro Miniより安いAVRは日本で買えない事がわかったため、大人しくPro Miniを使い続けます。
以上、よろしくお願い致します。
関連記事
-
-
YMZシールドのMIDI化を検討
お疲れ様です。高橋です。 Arduino UNOにYMZシールドをくっつけ、さら …
-
-
音階LEDの再設計
お疲れ様です。高橋です。 本日帰宅途中に電車をぼーっと待っている時、ふと、音階L …
-
-
【完成】ArduinoIDE1.6.4+ATTiny13Aで赤外線リモコン
お疲れ様です。高橋です。 苦戦していたArduinoIDE1.6.4を使ったAT …
-
-
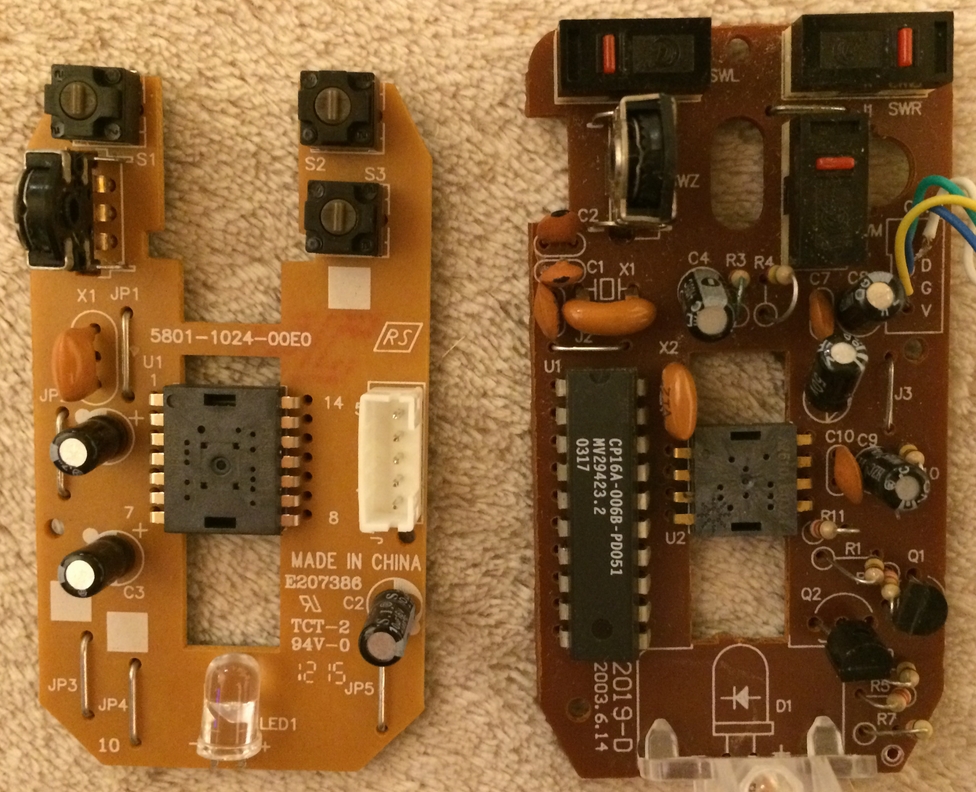
マウスを分解してみた(リベンジ)
お疲れ様です。高橋です。 壊れたマウスを貰った 本日、壊れたマウスを貰いました。 …
-
-
LEDドライバなる物の存在
お疲れ様です。高橋です。 本日、同僚とLED周りについて雑談していると、「LED …
-

-
USBカメラ+Raspberry Pi
お疲れ様です。高橋です。 USBカメラをRaspberryPiに装着し、ストリー …
-
-
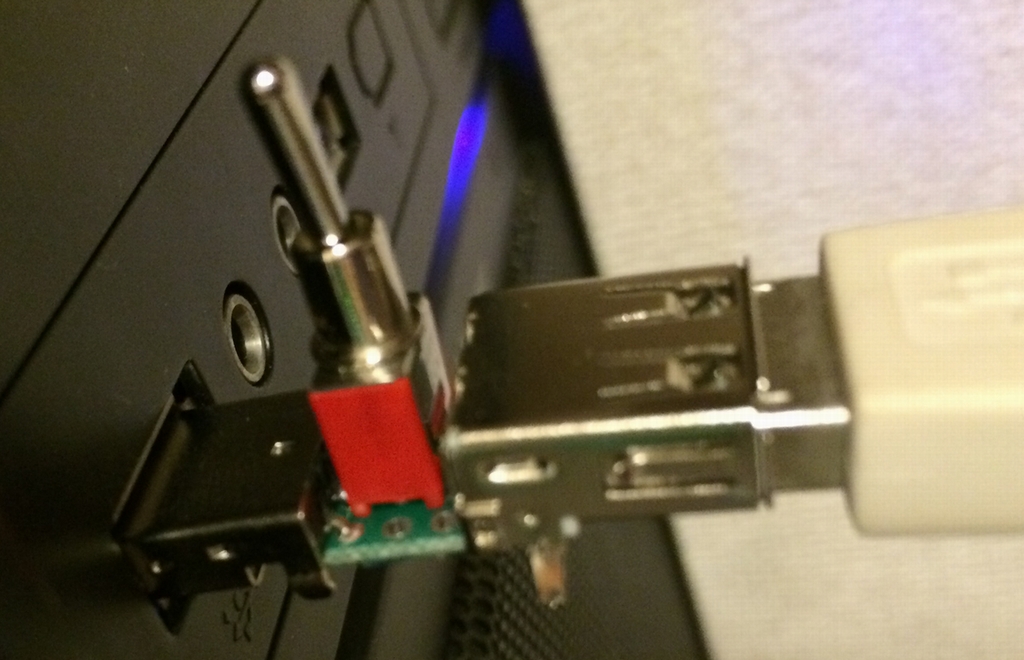
Arduino電源ON/OFF機
お疲れ様です。高橋です。 Arduinoを使っている時、特に2個とか複数同時に使 …
-
-
webからUSBカメラ+Raspberry Pi
お疲れ様です。高橋です。 The Internetから、RaspberryPiの …
-
-
YMZシールドの基板設計
お疲れ様です。 前に基板化したYMZ294をさらにシールド化したい事をPOSTし …
-

-
耳コピミキサー 半田付け #1
お疲れ様です。高橋です。 耳コピ用ミキサーの半田付けを行いました。 ブレッドボー …